Electroplating
Electroplating refers to the process by which a thin layer of metal is deposited on the surface of another metal by electrical & chemical means. There are many types of metals that can be electroplated and an ever greater number of methods for performing the operation. On this page, I will focus on the 2 main types of metal plating that are most often used with telegraph instruments, Nickel & Copper. (Chromium plating is often used on newer instruments, but as discussed earlier, chrome plating rarely goes bad and the plating process is more difficult, so I would leave that up to a professional plater).
For restoring old telegraph instruments, nickel is the metal that most often needs to be replated. It is quite common to find an old key where the nickel plating is generally intact except for a few spots where the plating has physically worn off due to frequent use of the key in a telegraph office. Or on some keys, especially bugs, the finger oils from the operator leach from the paddle onto the lever and through the plating (nickel plating is considered porous), causing corrosion of the brass, which in turn results in green oxide crystals growing on the metal, which will eventually cause the plating to flake off. This will leave you with a key that has a green lever !
Another commonly seen problem with nickel plating is on keys, like bugs, with steel bases that are nickel plated. If the key is left in a damp environment, moisture can leach through the plating, causing the underlying steel to begin to rust. The rust will begin to grow and will lift the plating and cause a rust spot. On this page I will discuss methods to correct both types of plating problems.
Nickel Plating Small Areas
Since nickel plated brass usually is damaged in just small spots, it is rarely necessary to replate the entire instrument. Doing so means stripping off the existing plating and using a tank plating process which can be seen on this website about electroplating. This method also requires a complete re-polishing of the base before plating with the end result being you will have a base with a mirror like finish. This might not be what you want if you are trying to make sure the key looks its age.
The method I prefer is called Brush Plating. It allows you to plate a small area without the need for a complete tear-down and re-plate. An advantage to using this method is that you can keep the overall finish of the instrument looking original as possible and just touch up the bad spots. If an instrument is completely re-plated, it will look too shiny and new in my opinion.
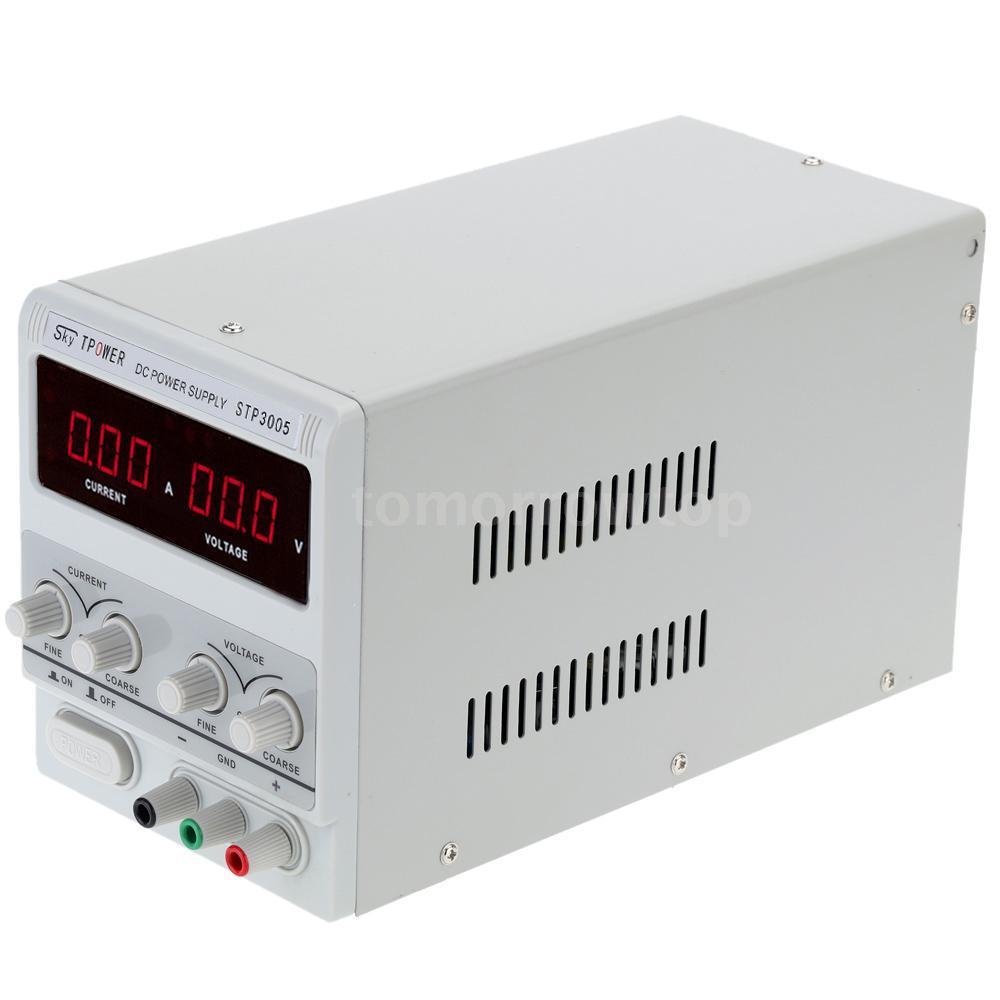
First thing you need to do is purchase a Variable DC Power Supply that allows you to adjust both voltage and current in the approximate range of 0-12Volts and 0-1Amp. These can be found on Ebay for a fairly low price. The other thing you will need is a Nickel Brush Plating Kit, available from Caswell Plating. (If you think you might have plans to re-plate a key with nickel plated steel parts, you need to purchase the Copper Brush Plating Kit as well.)
Each of these brush plating kits comes with a power supply, which is simply the same type of fixed power supply that comes with most household electronic devices. I prefer not to use this supply, instead using an adjustable supply which gives you more control of the current. However, you can use it if you prefer not to spend the money on a variable power supply.
To begin, the first thing you need to do is prepare the surface to be plated. The surface must be completely free of oxidation, oils, or greases, or the metal will not accept the plating. This is the most important thing when performing electroplating. Cleanliness is everything !!
To treat the areas of exposed brass, first apply some Naval Jelly to the area with a Q-Tip. This will dissolve the existing brass patina or green oxides. It will also make it easier to perform the next step, which is polishing the area. Apply some Flitz Metal Polish with a piece of paper towel and rub it in briskly. Then use a clean piece of paper towel to remove the excess polish. (You can tell when the polish is completely gone because you won't see any black residue on the tissue).
Next, soak another piece of paper towel in Denatured Alcohol. Rub it all around the area and make sure to cover the areas adjacent to the treated area. This will eliminate any greases or oils that can mess up the plating. Now you are ready to start the plating.
Open the Plug & Plate kit and remove the Power Supply. You will notice that it has 2 leads attached to the power cord: a Red Plug and a Black Clip. (Note: if you intend on using a Variable Power Supply, you will have to make 2 special power cord wires: A red wire with a banana plug on each end (same type of plug as on the Plug & Plate power supply cord) and a black wire with a banana plug on one end and a metal alligator clip on the other end.) Plug in the power supply, whichever one you choose to use.
(If you use a Variable Power Supply, set the voltage to about 4V and the current to 100milliAmp).
Now take the Plating Wand and wrap the cloth bandage around the flat end. Connect the Red Plug into the other end of the Plating Wand. Attach the alligator clip to the metal piece you intend to plate. Dip the Plating Wand bandage end into the plating solution. Just dip it about 1/2" to soak the end of the bandage.
Now rub the Plating Wand Bandage over the area you want to plate. Keep the wand moving, do not stop, and DO NOT allow the metal of the Plating Wand to touch the metal or you will get a dark spot that will have to be polished away before re-plating. Within a few seconds you should start to see the brass turn gray as the nickel is deposited on the brass. Keep the wand moving for a couple minutes to ensure a nice deposit of nickel.
Quite often you might see some dark smudges around the area you plated that don't wipe off. These are just oxides from the plating process. To remove these dark smudges, get your brass cleaner (Flitz) and put a TINY amount on a tissue. wipe it once on the area you plated. Do not rub it excessively or you will remove some of the plating. One wipe with the polish followed by a cleaning with a soft tissue will be enough to remove the smudge but not the plating.
You can see an example of a telegraph key I completely nickel plated on the Main Restoration Page.
Nickel Plating Steel Parts
The Caswell Plug & Plate Nickel kit will not plate over steel, at least not directly. You must first plate the steel part with Copper using the Plug & Plate Copper kit. The same general principles apply with copper plating as nickel plating. It's very important that the part is completely clean, free of rust, dirt and oils. So start by following the instructions on my How To Clean Rust page.
When the steel part is completely free of rust, wipe it thoroughly with Denatured Alcohol to get rid of surface oils and greases. You are now ready to begin plating.
Open the Plug Plate Copper plating kit and follow the same set-up instructions for the nickel plating kit except you will be using the plating solution in the copper kit instead of the nickel kit. (Also, if you are using a Variable Power Supply, set the Voltage to 6V and the Current to 100milliAmp). Do not use the Plating Wand from the nickel kit with the copper kit. It's made of a different metal. And keep the bandages separate for each kit. No not mix them up or you can contaminate the plating solutions.
Apply the copper plating to the steel part. You will notice that the copper seems to plate easier than the nickel. I have noticed this as well but I can't comment as to why this is the case. After about 2 minutes over each area of the part, stop the plating process, rinse the part and do a quick "one-wipe" polish just like you did after the nickel plating process. Now wipe the part completely with Denatured Alcohol in preparation for the nickel plating. You can now apply the nickel plating using the Plug & Plate Nickel kit as you did earlier. You will now have a nickel plated steel part !
Nickel Plating Steel Bug Bases
As Chrome Plated bugs did not start to appear until around 1940, some of the older bug keys had nickel plated steel bases. Time was not often kind to these plated finishes, and many of the keys you will encounter have lots of rusty spots and the plating is often peeling away from the key. Trying to re-plate a nickel plated steel base with the brush plating kit would be very difficult, as the large size of the base would make the process quite time consuming. You could take it to a professional plater, but again, I don't like to do this as the base will have a mirror finish when you get it back because of their polishing operation. Instead, there is a very simple method you can use at home called Electroless Nickel.
Electroless Nickel, as the name implies, allows you to plate a piece of metal without a power supply. Simply mix the solutions in distilled water, heat the solution to a specified temperature with the supplied heater, then hang the part in the solution for the specified amount of time to get the desired plating thickness. Unlike regular Nickel Electroplating, Electroless Nickel will plate directly over steel without having to first apply a copper plate.
Caswell Plating sells an Electroless Nickel Plating kit. This is the one you should purchase. It is pricey however; $170 for the mini kit that will plate one bug base, or $200 for the standard kit that will plate 2 bug bases. It is still cheaper than taking it to a professional plater.
You will also need to purchase a bag of Metal-X Nickel Stripper powder to remove the old plating. After stripping off the old nickel plating, treat with Naval Jelly to de-rust the base. Depending on how badly the base was rusted, there might be some pitting in the metal. If it is not severe you can leave it as-is, but you might need to have the base professionally polished to remove the pits and shine the metal. Then de-grease the base with Denatured Alcohol before starting the plating process.
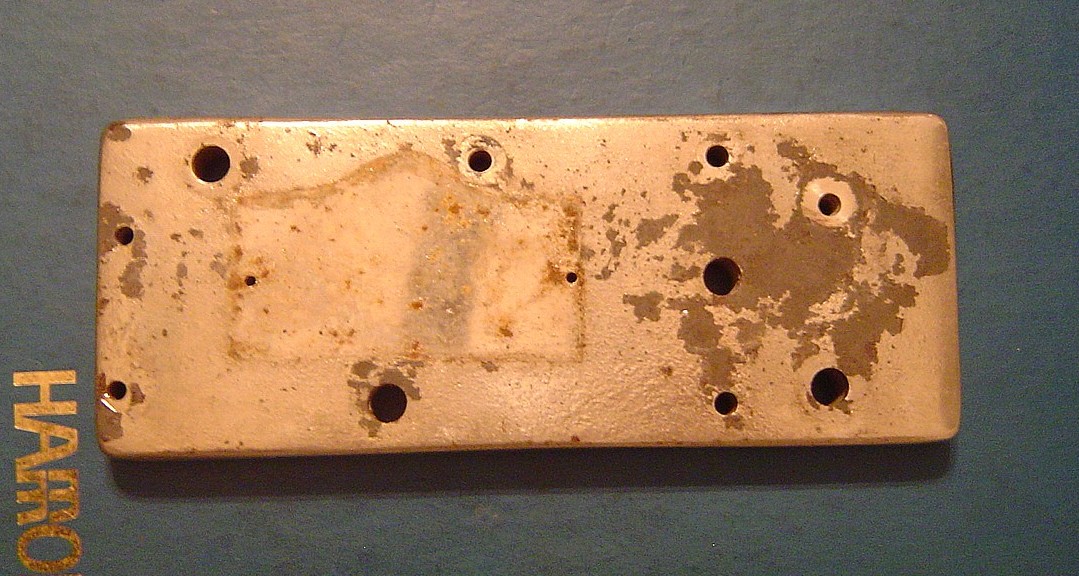
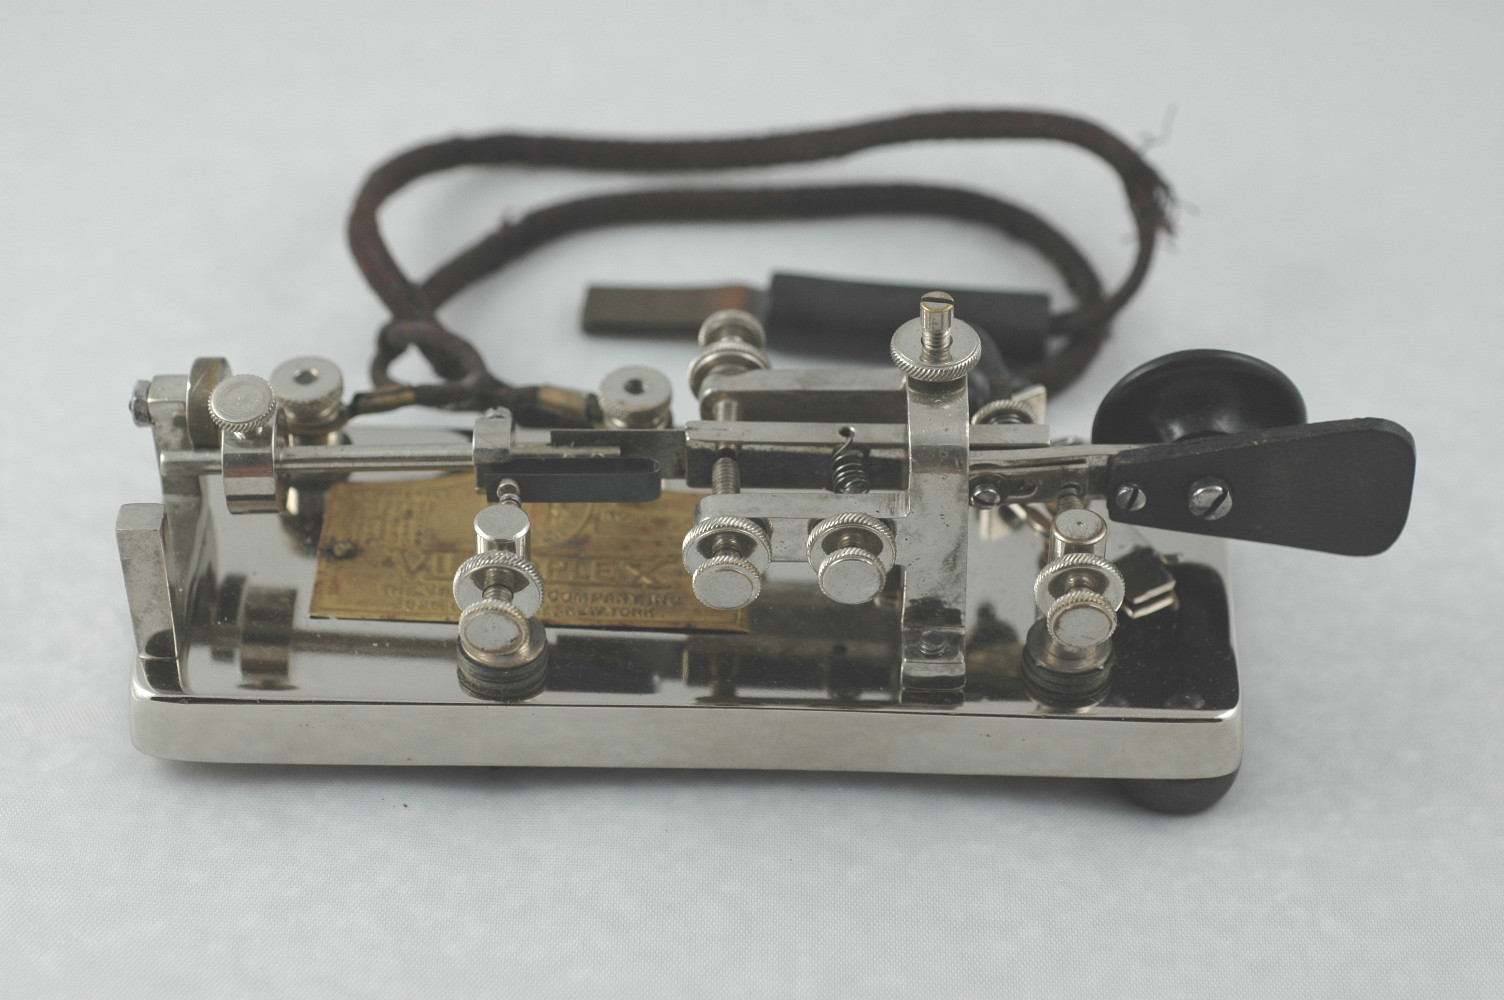
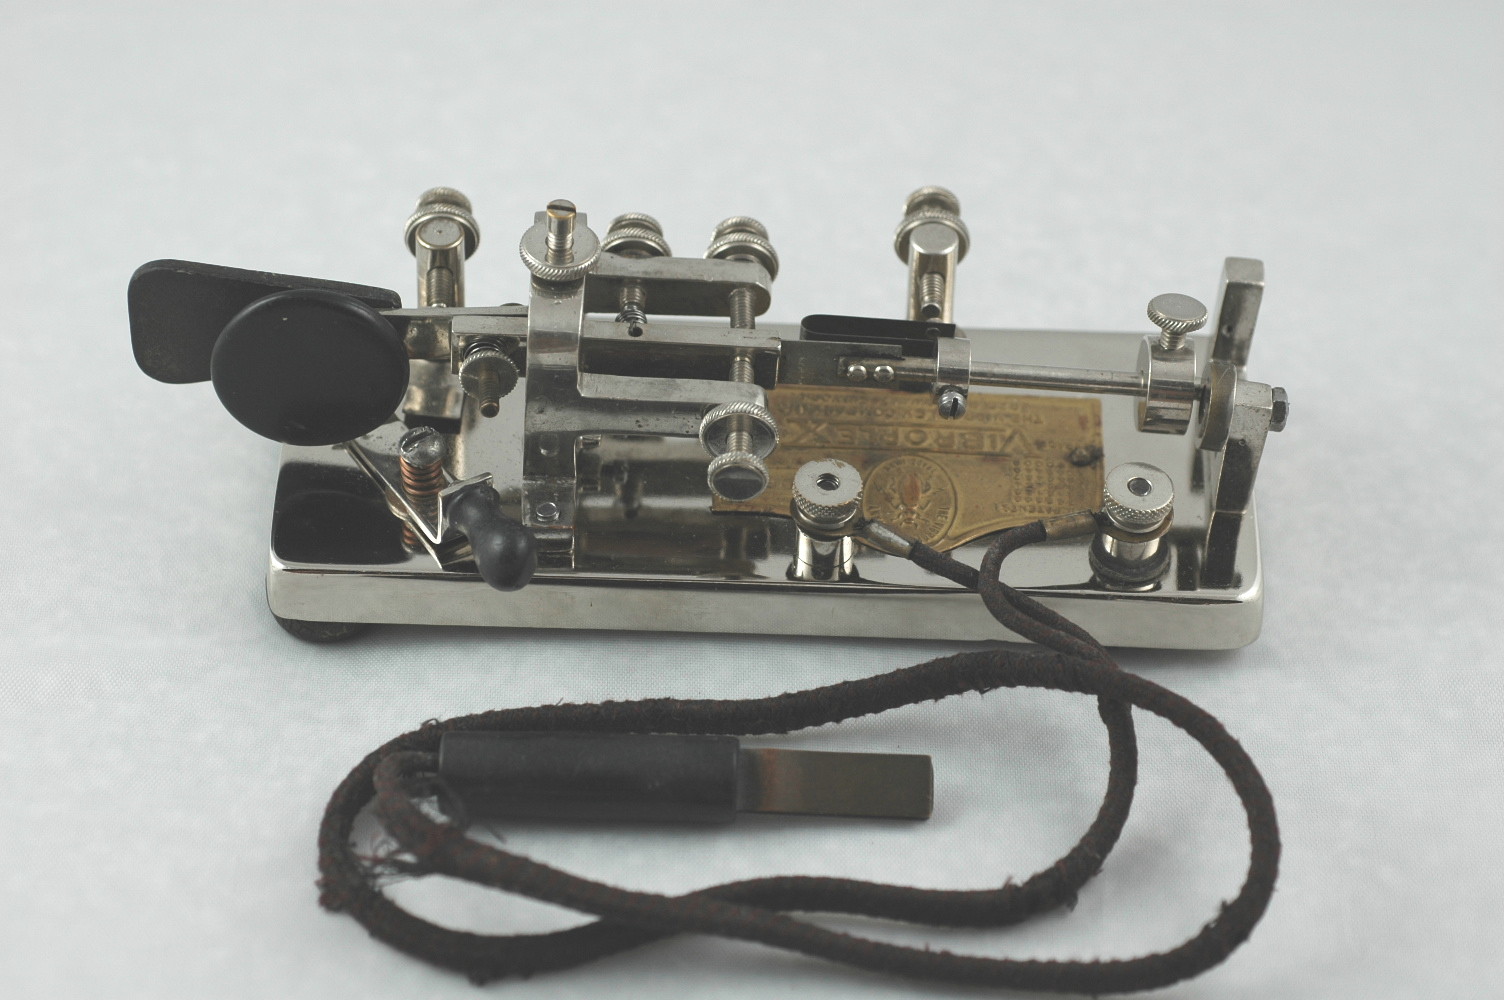
Below is an example of a Vibroplex Blue Racer base that I re-plated using the Electroless Nickel kit. On the left is the base before re-plating. You can see how badly the plating was peeling off the base and some rust is showing as well. After stripping off the old plating, I used a buffing wheel with an abrasive polishing compound to remove the pitting and then re-plated with the Electroless Nickel kit. As you can see, the results are outstanding !
 |
 |
 |
![]()
![]()